
This is the 2.0 version of the GIF Looper! This version has much better beat syncing and will export to Android (theoretically). You will need to use Unity 2018.4.21f1. All other instructions are the same. I will be making instructional videos soon, so keep your eyes peeled on that.
I'm providing this Unity Template Project for free for personal use. If you create original Videopaks that you want to sell, please contact us and we can list it here with a percentage of the sales going to you! I'd love to overwhelm our servers with Videopaks and provide an outlet for artists like yourself to get compensated for your creations... even though you're probably doing this for fun.
-------------------------------------------------
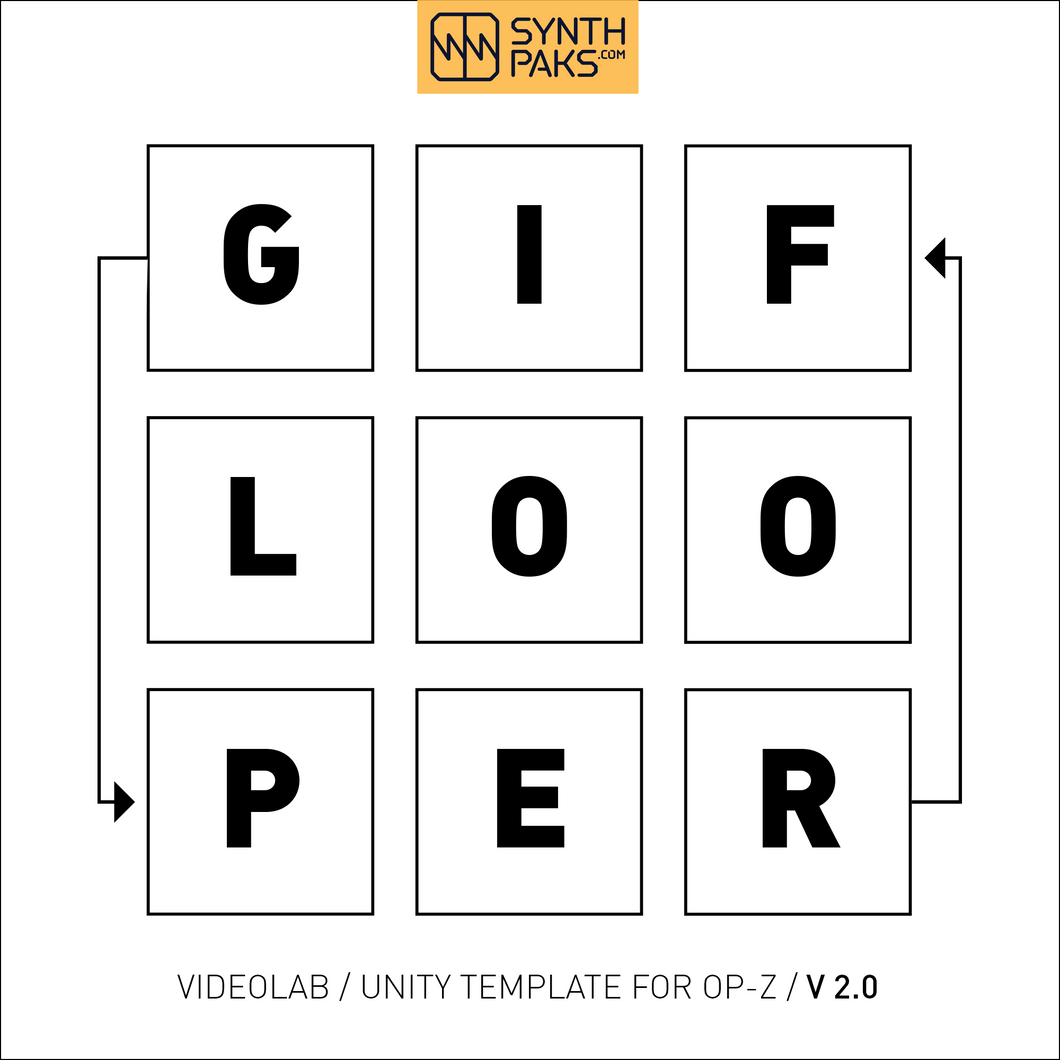
This is a template project for Unity that includes the Videolab components that you need to export to the OP-Z App Videopak format (iOS, Mac, Android).
-
To load your own GIFs/Loops into this project, you’ll need to create a spritesheet for each of 14 GIFs.
-
Each spritesheet needs to have 30 frames. It will replace the placeholder spritesheets I have in the project and you’ll be able to export your videopak.
-
The most difficult part of the process is going to be creating the spritesheets. They need to be EXACTLY the same as the sheets they replace. Instructions below.
- OR, Use this new tool that lets you upload or link to GIFs and it exports the EXACT spritesheets you need!
Video Tutorial:
Many thanks to Tony Grisey for this amazing tutorial! Make sure you check out his free Gif-Looper paks and his Lazer Vector pak here at synthpaks! And join the Videolab creators Discord group!
INSTRUCTIONS:
-
Make sure you have Unity 2018.2.21. The Unity GIF Looper Project is created in this version of Unity. I can’t vouch for any other versions.
-
Visit the Videolab Github page for more info about versions, installing, exporting, etc.
-
Create your 14 Spritesheets
- Here are the placeholder spritesheets. Your final spritesheets need to be named with these names and need to be exactly the same.
- Each spritesheet has 30 frames and represents one GIF loop. The loops work best with the final size being 2 to 4 seconds long. The 30 frames represent this length of time.
- It’s best to export all frames as single files first, and then use a tool like Photoshop to create the spritesheets. If you use photoshop, this will be much easier by using its automated contact sheet builder. (See specific Instructions below)
- All frames need to be this exact pixel size (1014 x 468 pixels) or the same exact proportions (1521 x 702) or (500 x 231)
-
Download and unzip the GIF Looper Template project
-
Go to Assets>GIFs and drag all new spritesheets into the GIFs folder. Make sure all the names are the same and make sure to replace all .png files with the new spritesheets. (Leave the .png.meta files there without deleting them) (screenshot)
-
Open Unity
-
Now Open the GIF Looper 01 Template Project
-
Find and click on the Scene named “GIF-Looper-Scene-01” (Screenshot)
-
In the menu to the right of the scene, choose “Select Scene Asset"
-
Make sure there is an Asset Bundle Name set on the lower bottom right of the screen. It should say "gif looper”, you can create a new bundle name if you’d like. (Screenshot) Make sure the name is all lowercase.
-
In the top menu choose Assets>Build Videopaks and choose where to save the export. (Screenshot)
-
For more info on exporting videopaks and importing the videopak into your OP-Z app, visit the Videolab Wiki
-
Convert your video clips to 2 seconds length.
-
Export each frame of your video at 15 fps
-
This will give you 30 frames
-
Use these 30 frames to make your spritesheet
- Locate a GIF you want to use.
- Gifs will work best if they’re 2 to 4 seconds long
- It’s easiest if you find GIFs that are close to 30 frames (30 frames are what you need to create sprite sheets)
- Copy the link to the GIF or download and use a free tool like https://ezgif.com/crop to edit and export your frames
- Crop the GIF to the correct proportions. With https://ezgif.com/crop
- Choose a pixel size that’s the same size or smaller than your existing GIF
- Some sizes that will work: (1014 x 468 pixels) or (1521 x 702) or (500 x 231)
- Always use the largest size possible to prevent pixelated frames
- Edit the Frames if your GIF has more than 30 frames
- Use the “Frames” option to skip any frames that you want to make sure you have exactly 30 frames
- Click “Make a GIF"
- Now click “split” to export all 30 frames
- Choose “Output Images in PNG Format"
- Click “Split To Frames"
- Now click “Download Frames as ZIP"
- This should give you a ZIP folder that you can unzip and will have your 30 frames.
- Use these 30 Frames to create your spritesheet, (see below for spritesheet creation instructions)
- Spritesheet creation requires 30 images/frames each.
- Each image should represent one frame of your loop.
- Each image should be sized exactly (1014 x 468 pixels) or (500 x 231) or (1521 x 702) or the same exact proportions
- Example images
- Use Photoshop’s Contact Sheet II automation tool to create your first spritesheet
- Once you have 30 frames ready for spritesheet creation, make sure they are organized into a folder and named sequentially.
- File>Automate>Contact Sheet II and use these exact settings.
- Here’s a Photoshop preset that you can use load with the settings
- IMPORTANT: Delete the background layer in the contact sheet. Your final spritesheet needs to have a transparent background
- Export Transparent PNG spritesheet
- In Photoshop, go to File>Export>Export As
- Use these exact settings
- Make sure to name your exported file correctly (GIF-Looper-Template-SpritesheetXX.png) (Where XX is a number between 01 and 14) Example placeholder Spritesheets
CC Attribution-NonCommercial CC BY-NC license
Works on iPhones, iPads, Mac & Some Android devices. On Mac and iPad the aspect ratio forces slight image crop on right and left of screens.
(iOS OP-Z App 1.2.8)
(MacOS OP-Z App 1.2.5)
(Android Confirmed Running: Pixel 2)